How to Add a Weather Widget for Webflow in minutes? A detailed guide
How to add a weather widget for Webflow in minutes? It’s not as difficult as you think. Scroll down and follow simple steps, and you will be able to show a weather widget right on your website easily and quickly.
How to add a Weather365 widget to Webflow easily?
How to add a Weather Widget for Webflow?
Adding a Weather365 widget to Webflow is quick and requires no coding skills. Simply create your widget, copy the embed code, and paste it into a Webflow Embed element to display real-time weather on your site.
Take a look at the step-by-step guide below.
Step 1: Create a Weather365 Widget
First, visit Weather365.com and click the Widget tab to create your own weather widget.
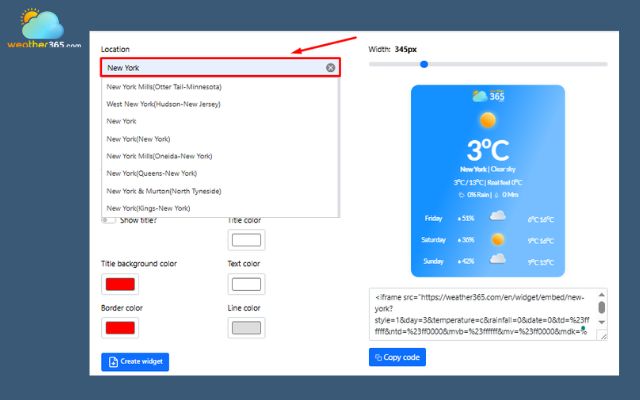
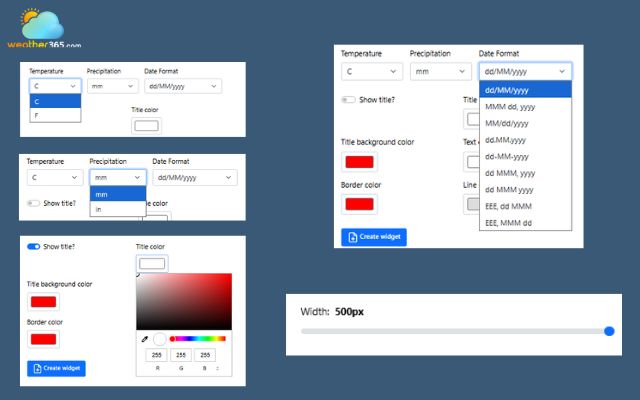
After that, you customize the weather widget that matches your website theme.
Choose the location you want to display
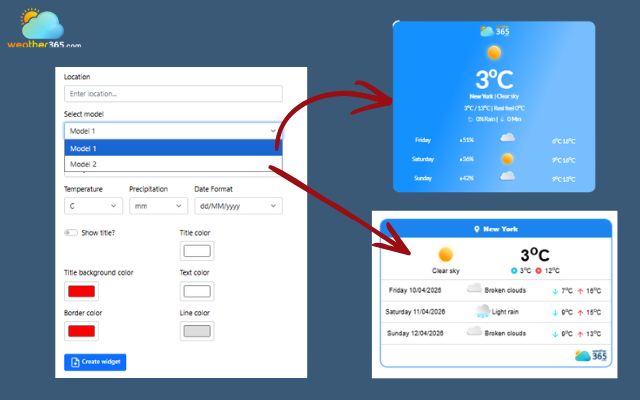
Select the display model: Weather365 offers 2 models, giving you flexibility to present weather data in different formats.
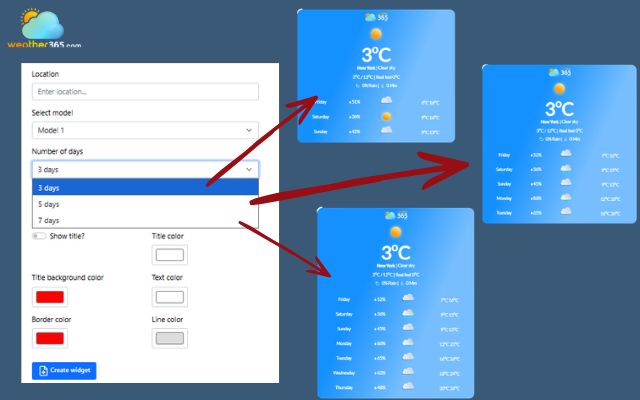
Customize the type of weather forecast: Weather365 allows you to customize the forecast duration, giving you full control over how much data to display. Choose between a 3-day, 5-day, or 7-day forecast to match your content needs and keep your layout clean and relevant.
Customize the widget title and colors to match your website’s branding. Adjust text, background, border, and line colors to create a consistent and visually appealing design. Besides, you are able to set the temperature unit, the rainfall unit, and the date format.
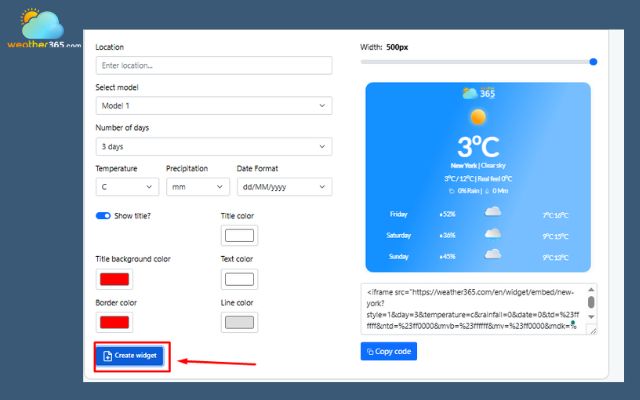
When you’re ready to customize the Weather365 widget to your Webflow website, click the “Create Widget” button.
Step 2: Embed HTML widget code in Webflow
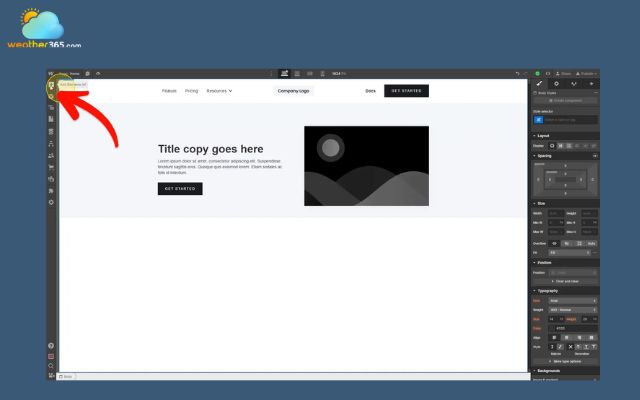
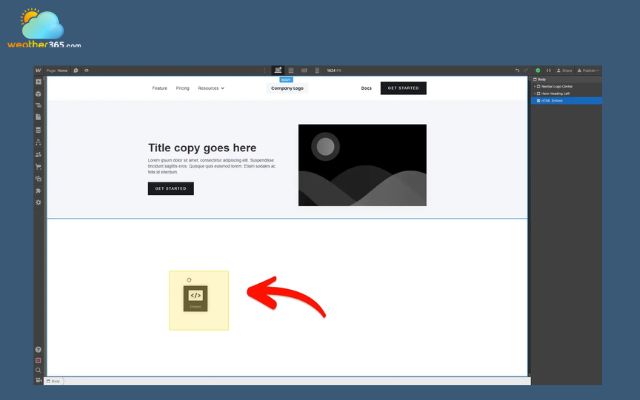
Now, visit your Webflow site editor. In the left panel, click the Add Elements button to begin adding components to your page.
Locate and choose the Embed element in the Advanced section.
Note: this feature is only accessible with a Webflow premium plan.
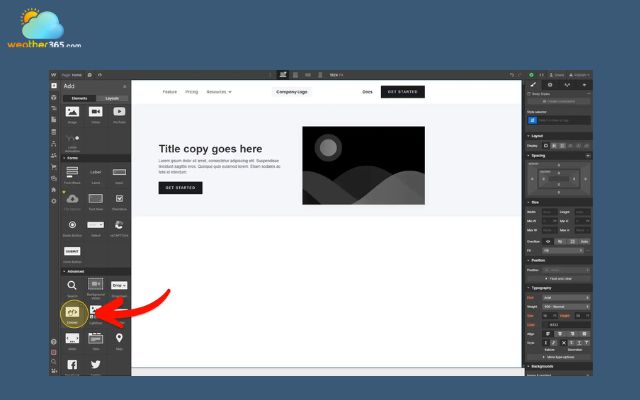
Drag the Embed element onto your page and position it wherever you want the live weather forecast to appear.
Step 3: Paste HTML code into Webflow and Publish
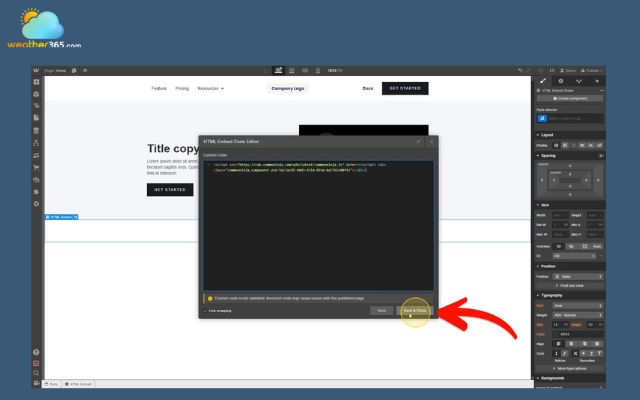
Insert the live weather forecast code by pasting the embed snippet you copied earlier into the HTML Embed Code window.

Click Save & Close to apply your changes and exit the code editor.
Note: The live Weather365 Widget won’t be visible inside the Webflow editor. It will only appear once your site is published.
Read more:
Why should you add the Weather365 Widget?
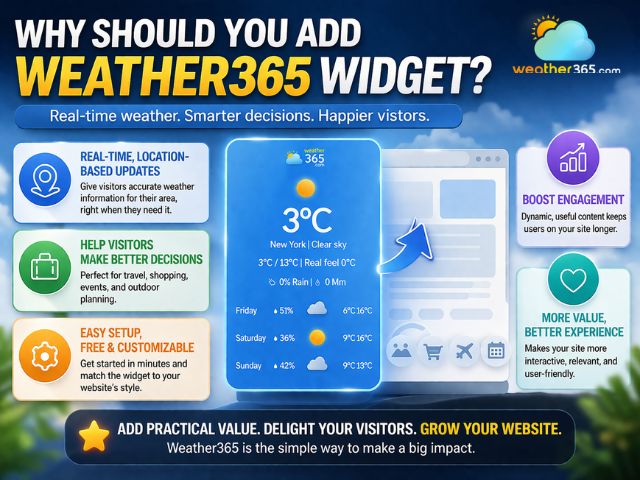
Adding a Weather365 widget or any weather widget for Webflow is a smart way to enhance both functionality and user experience. Among the many weather widgets for websites, Weather365 stands out for its ease of use and customization.
It provides real-time, location-based weather updates that help visitors make informed decisions, whether they are planning travel, shopping, or outdoor activities.
With its easy setup, free access, and customizable design, the widget fits seamlessly into any website without technical complexity.
It also improves engagement by offering dynamic, useful content that keeps users on your site longer.
Overall, Weather365 not only adds practical value but also helps make your website more interactive, relevant, and user-friendly.
Benefits of adding the Weather365 Widget to Webflow
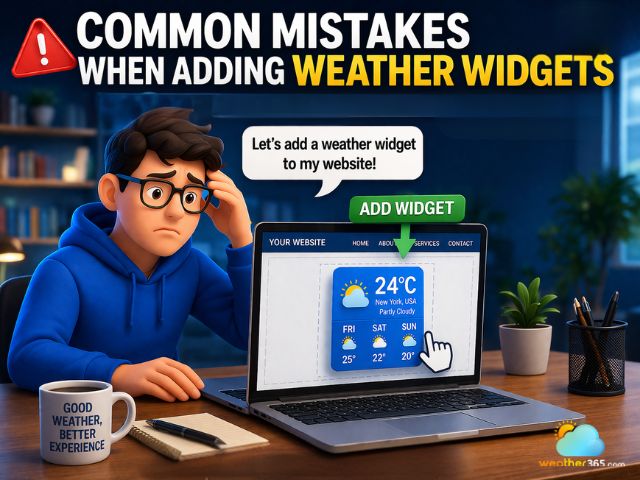
Common mistakes when adding weather widgets
The guide on "how to add weather widget to any platform" is easy to follow.
However, there are still some common mistakes to avoid when adding a weather widget for Webflow.
Identifying these issues early will help ensure better performance, usability, and overall user experience.
Incorrect embed placement: Adding the code to a text block instead of a Custom HTML or Embed element prevents the widget from displaying properly.
Ignoring responsiveness: Failing to check mobile and tablet views can lead to broken layouts or poor user experience on smaller screens.
Overloading the page: Using too many widgets or heavy scripts can slow down page speed and negatively affect SEO performance.
Theme or plugin conflicts: Some widgets may not work well with certain themes or plugins, causing display errors or missing data.
Lack of customization: Not adjusting location, forecast type, or design makes the widget less relevant and less engaging for users.
Skipping testing: Not previewing and testing after embedding can result in unnoticed issues, such as widgets not loading or displaying incorrectly.
Common mistakes to avoid when inserting an HTML widget into Webflow
Final thoughts
In conclusion, it’s easy to add a weather widget for Webflow and enhance your website with real-time, dynamic content. With a simple embed process and no coding required, you can improve user experience, boost engagement, and make your site more informative and interactive.
Frequently Asked Questions (FAQs)
Related post

How to Add Weather Widget for WordPress? A Step-by-step Guide

Weather Widget for Squarespace: Quick Guide to Display A Live Weather

0 Comment
Leave a comment
Your email address will not be published. Required fields are marked *