Adding Weather Widget for SharePoint & Google Sites Easily
Want to make your site more useful and engaging at a glance? A Weather Widget for SharePoint & Google Sites is a simple way to display real-time forecasts, helping users plan their day without leaving your page. In this guide, you’ll learn exactly how to add one step by step - no technical skills required.
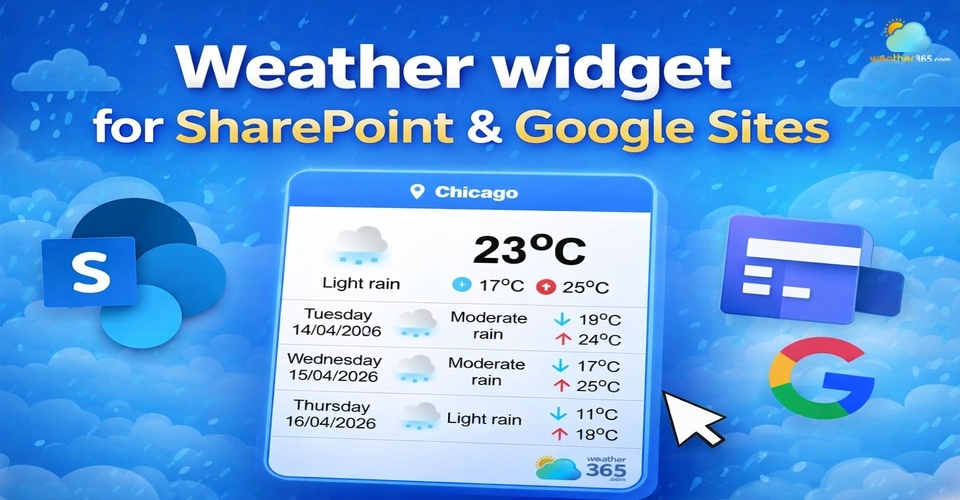
Weather widget for SharePoint & Google Sites
Choose a Weather Widget Provider
The first step is choosing the right provider, and if you want something simple, flexible, and reliable, Weather365 widget is a great option.
Instead of comparing too many tools, you can go straight to Weather365 Widget and generate your widget in just a few clicks.
It’s designed for easy embedding, which makes it perfect for platforms like SharePoint and Google Sites.
If you're using other platforms as well, the setup process is quite similar.
For example, adding a weather widget for WordPress follows a comparable approach.
What makes Weather365 stand out:
-
Real-time weather updates you can trust
-
Clean, minimal design that fits any website
-
Quick embed code (no coding skills needed)
-
Support for multiple locations
This means you don’t have to worry about performance or complicated setup, everything is streamlined from the start.
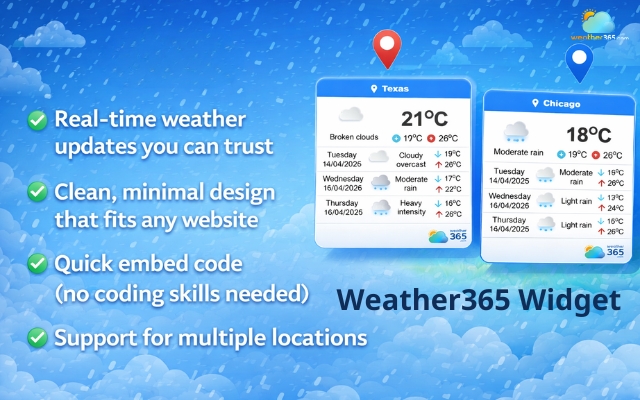
Choose the Weather365 widget for a smooth experience
Customize Your Weather Widget
Once you’re on Weather365, the next step is customizing your widget to match your website.

Freely customize the Weather365 widget
The platform gives you flexible options without overwhelming you. You can easily adjust:
-
Your preferred location (or multiple locations)
-
Temperature unit (°C or °F)
-
Layout style (simple or detailed)
-
Visual appearance to match your site
You’ll see changes in real time as you customize, so it’s easy to find a look that fits your design.
Once you’re happy with the result, you’re ready to grab the embed code and move to the next step.
Copy the Embed Code
After customizing your widget, click “Create widget”, and you’ll be given an embed code, typically an HTML snippet.
Simply copy this code.
This is what you’ll use to insert the weather widget into SharePoint or Google Sites.
Make sure you copy the full code to avoid display issues later.
Once you have your embed code ready, the process is quite similar across different platforms.
If you want a broader overview, check out this guide on how to add a weather widget to any platform.
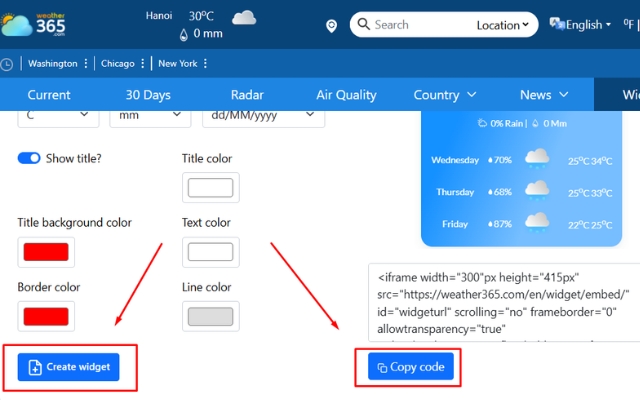
Copy the provided code
Add a Weather Widget to SharePoint
Now let’s move to SharePoint. Here’s how to add your widget:
-
Open your SharePoint page in edit mode
-
Click the “+” button to add a new web part
-
Select Embed
-
Paste your weather widget embed code
-
Publish or republish the page
Within seconds, your weather widget should appear live on your SharePoint site.
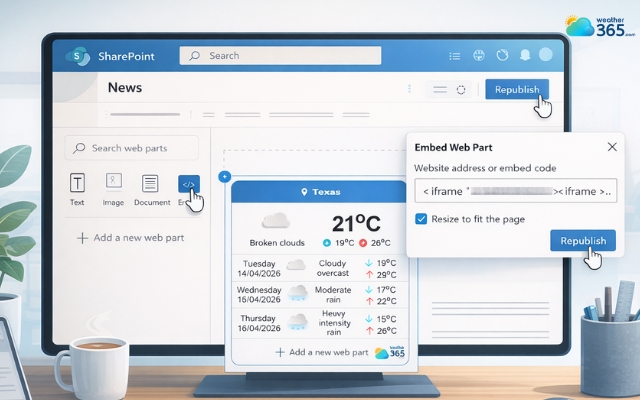
Add a weather widget to your SharePoint
Add a Weather Widget to Google Sites
Adding a widget to Google Sites is just as simple. The process is just as simple as other website builders like Wix, where embedding widgets is also beginner-friendly.
Drop by the Weather widget for Wix to learn the detailed steps!
Follow these steps:
-
Open your Google Site editor
-
Click Insert → Embed
-
Choose Embed Code
-
Paste your copied code
-
Click Insert and position the widget
You can resize and move it easily to fit your layout.
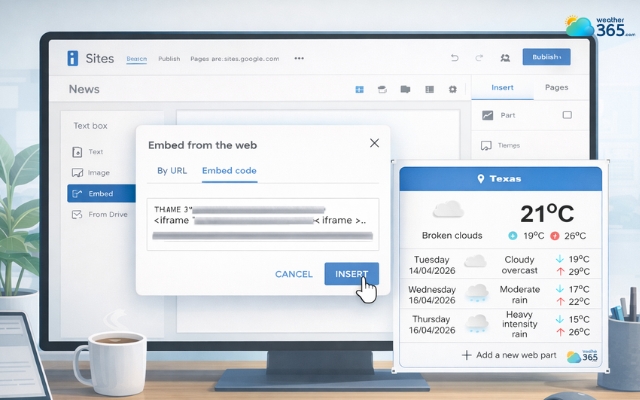
Add a weather widget to your Google Sites
Adjust Display and Responsiveness
After embedding your widget, take a moment to fine-tune how it looks on your page.
Even though tools like Weather365 Widget are designed to be responsive, small adjustments can make everything feel more polished.

Check how weather widget looks on your page
Make sure the widget fits well within your layout and doesn’t feel too cramped or oversized.
-
Check how it appears on both desktop and mobile
-
Adjust spacing or alignment if needed
A well-placed widget should feel like a natural part of your website, not something added as an afterthought.
Test and Publish Your Page
Before going live, it’s important to test everything to avoid any surprises later.
Preview your page and make sure the weather data loads correctly and updates as expected.
Refresh the page once or twice to confirm stability.
Once everything looks smooth and functional, go ahead and publish. Your site is now more interactive and useful with real-time weather information.
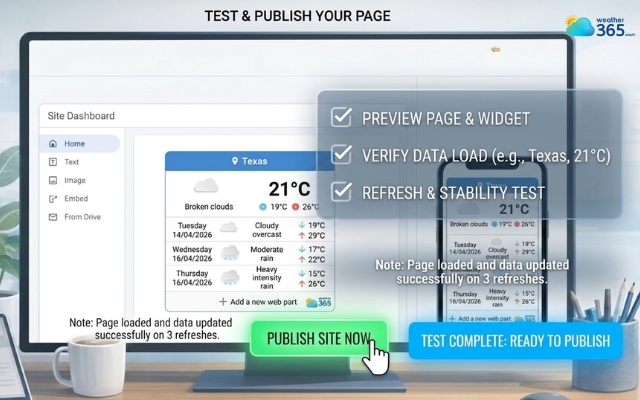
Preview and publish the weather widget
Sum up
Adding a Weather Widget for SharePoint & Google Sites is a quick upgrade that improves both functionality and user experience. With just a few steps: choose, customize, embed, and test, you can turn a basic page into a more interactive and helpful space.
Frequently Asked Questions (FAQs)
Related post

How to Add Weather Widget to Any Platform? A Complete Guide for Beginners

Weather Widget for HubSpot: Add Real-Time Forecast Easily

0 Comment
Leave a comment
Your email address will not be published. Required fields are marked *