How to Read a Barometer? Simple Step-by-Step Guide for Beginners
If you’ve ever been surprised by a sudden weather shift, you’re not alone. Knowing how to read a barometer can change that. With just a quick glance, you can predict incoming rain or clear skies, once you understand what the numbers are telling you. Scrolling down and learning the easy technique step by step!
How to read a barometer?
- When was the Barometer invented?
- How to read a barometer? Step by Step
- Step 1: Understand Barometric basics
- Step 2: Check the current pressure
- Step 3: Observe and interpret the trend
- Step 4: Adjust for location
- Step 5: Regular monitoring
- Step 6: Check storm indicators
- How To Read A Mercury Barometer
- Locate the Meniscus
- Adjust the zero point
- Align the Vernier Scale
- Read the Scale
- Check the temperature
- Interpret Trends
- How To Read A Aneroid Barometer
- Tap the glass
- Read the current pressure
- Set the reference needle
- Compare later
- How To Read Digital Barometers
- Key components of reading
- Interpreting the pressure
- Is a Barometer accurate?
- Tips for reading a barometer
When was the Barometer invented?
The barometer was invented in 1643 by Evangelista Torricelli, an Italian physicist and student of Galileo.
At the time, scientists were trying to answer a simple but puzzling question: Does air actually have weight?
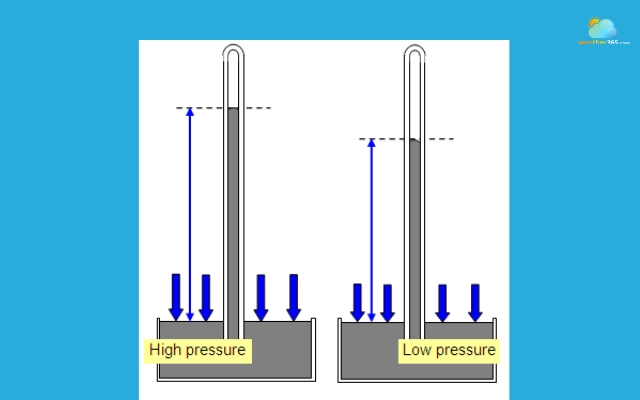
Torricelli’s experiment changed everything. He filled a long glass tube with mercury, sealed one end, and inverted it into a bowl of mercury.
Instead of emptying completely, some mercury stayed inside the tube. What held it there?
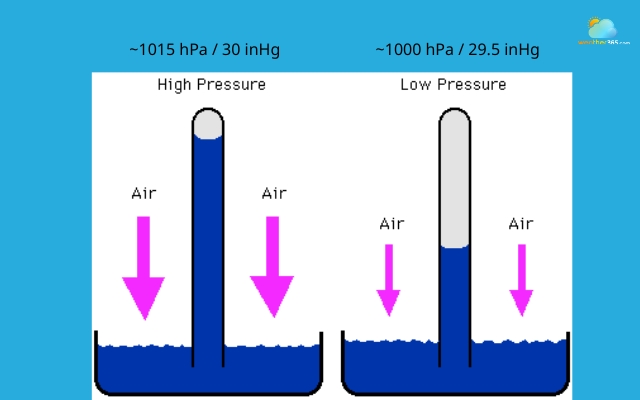
The answer was atmospheric pressure:
The weight of the air pushing down on the surface of the liquid.
This was a breakthrough moment. For the first time, humans could measure air pressure, not just feel or guess changes in the weather.
Torricelli had essentially created the first mercury barometer, and with it, a new way to understand the atmosphere.
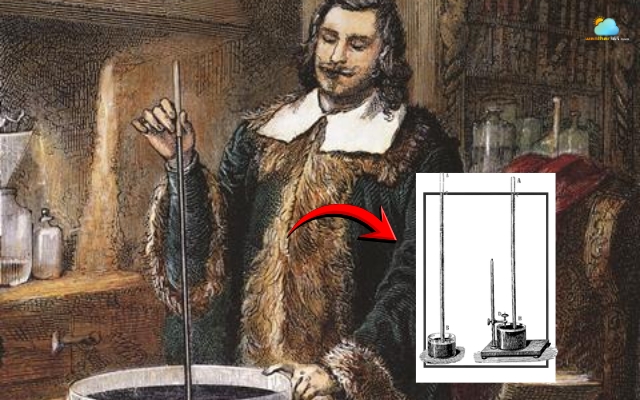
Evangelista Torricelli invented the barometer in 1643
What’s interesting is how quickly people connected this invention to weather patterns.
They noticed that when the mercury level dropped, storms often followed. When it rose, the weather tended to clear up.
This observation laid the foundation for modern forecasting, and it’s exactly why learning how to read a barometer is still useful today.
Over time, the design evolved.
Mercury barometers were later complemented by aneroid barometers (which don’t use liquid) and eventually digital sensors in smartphones and weather stations.
But the core idea hasn’t changed since 1643:
Changes in air pressure signal changes in weather.
So while today’s devices may look more advanced, every barometer you use still traces back to Torricelli’s simple yet revolutionary experiment.
How to read a barometer? Step by Step
If you’re just starting out, learning how to read a barometer doesn’t have to be complicated. The key is not just looking at a number, but understanding what that number is doing over time.
Here’s a simple way to read it step by step.
Step 1: Understand Barometric basics
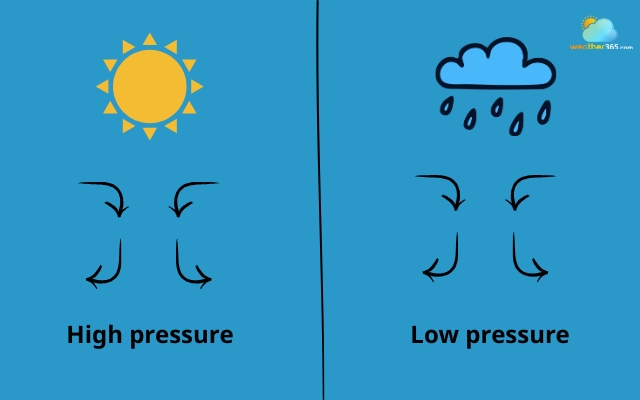
First, get familiar with the basics. A barometer measures air pressure, usually in inches of mercury (inHg) or hectopascals (hPa).
In general, higher pressure means stable, clear weather, while lower pressure often signals clouds, rain, or even storms.
In case you have not fully understood what barometric pressure is, we have this full guide: What is barometric pressure?
Understand the barometric pressure
Step 2: Check the current pressure
Next, check the current reading.
A value around 29.92 inHg (1013 hPa) is considered normal at sea level.
If the number is noticeably higher, the weather is likely calm and dry. If it’s lower, conditions may be unsettled.
Check the current pressure to know the condition
Step 3: Observe and interpret the trend
Don’t stop at one reading.
Pay attention to the trend. Is the pressure rising, falling, or staying steady?
A rising barometer usually means improving weather, while a falling one suggests something is changing, often for the worse.
A quick drop can even hint at an approaching storm.
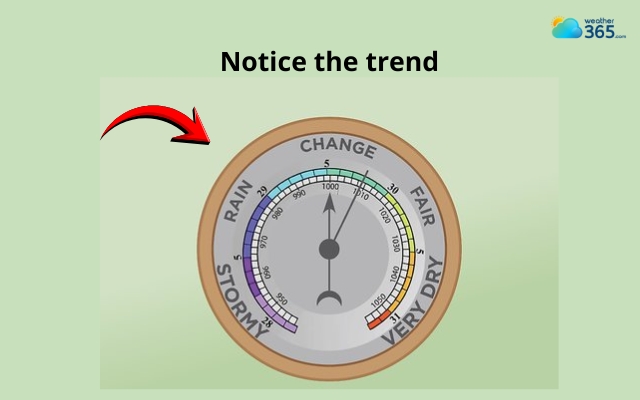
Pay attention to the trend of fluctuation
Step 4: Adjust for location
You’ll also want to consider your location.
Air pressure naturally decreases at higher altitudes, so readings in mountainous areas will be lower than at sea level.
Many modern devices adjust for this automatically, but it’s still good to keep in mind when interpreting numbers.
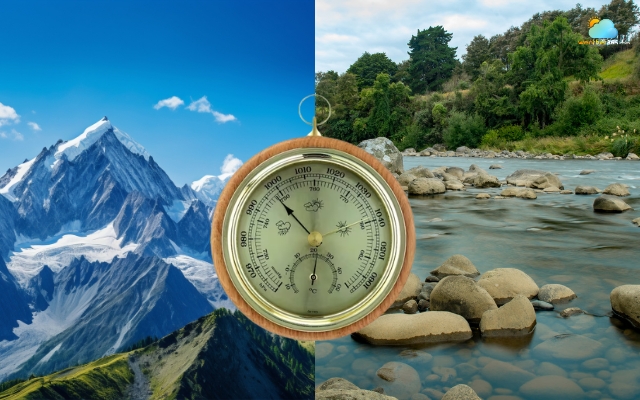
Air pressure changes with altitude
Step 5: Regular monitoring
Another important habit is consistency.
Try checking your barometer at the same time each day.
Over time, you’ll start to notice patterns, making it easier to connect pressure changes with actual weather conditions.
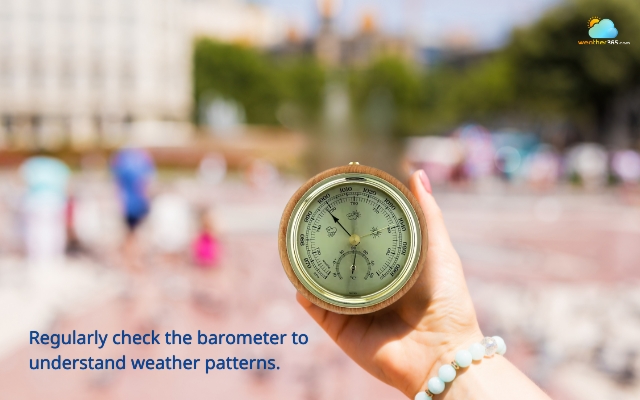
Regularly check the barometer
Step 6: Check storm indicators
Finally, watch for storm signals.
A sudden drop in pressure, especially when combined with wind or humidity changes, is often a strong warning sign that bad weather is on the way.
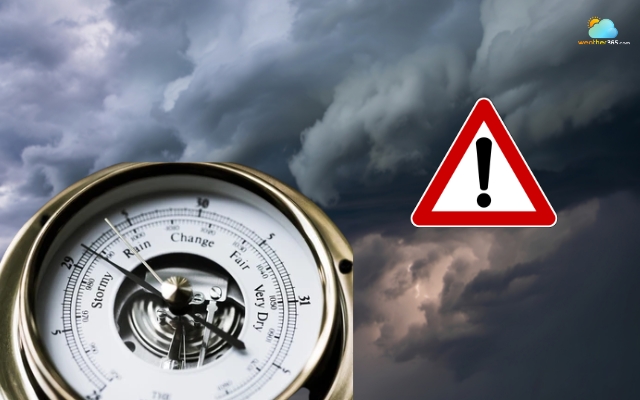
Notice the storm signal through the barometer
How To Read A Mercury Barometer
A mercury barometer may look a bit intimidating at first, but it’s actually one of the most accurate ways to measure air pressure.
The key is knowing exactly where and how to read the mercury level.
Locate the Meniscus
Start by locating the meniscus, which is the curved surface of the mercury inside the tube.
Because mercury doesn’t form a flat line, you should always read the measurement at the top of the curve, not the edges.
This small detail matters - a wrong reading here can throw off your interpretation completely.
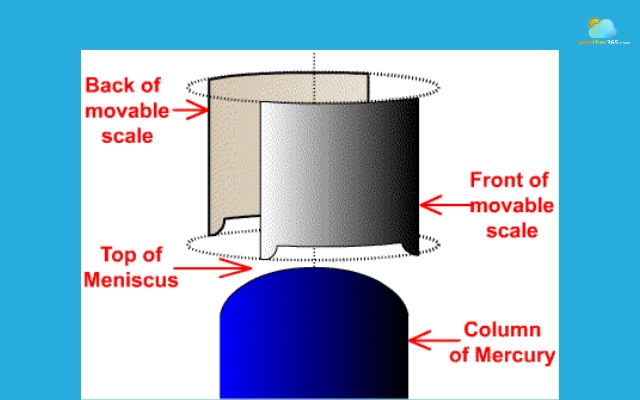
Structure of a mercury barometer
Adjust the zero point
Next, check if your barometer allows you to adjust the zero point.
Some models have a small screw or knob to calibrate the scale.
This ensures your reading matches the actual atmospheric pressure for your location, especially if the device has been moved or hasn’t been used in a while.
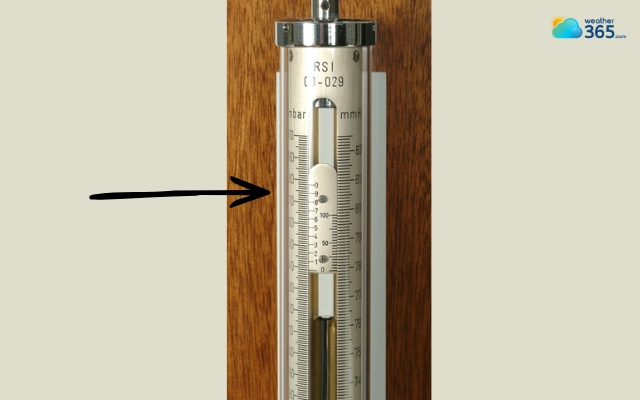
Adjust the mercury barometer to ensure an accurate reading
Align the Vernier Scale
Once that’s set, move on to the Vernier scale - this is the small sliding scale next to the main markings.
It helps you read pressure more precisely, often down to very fine increments.
Carefully slide it until it lines up exactly with the top of the mercury column.
This step might feel a bit technical at first, but it’s what makes mercury barometers so precise.
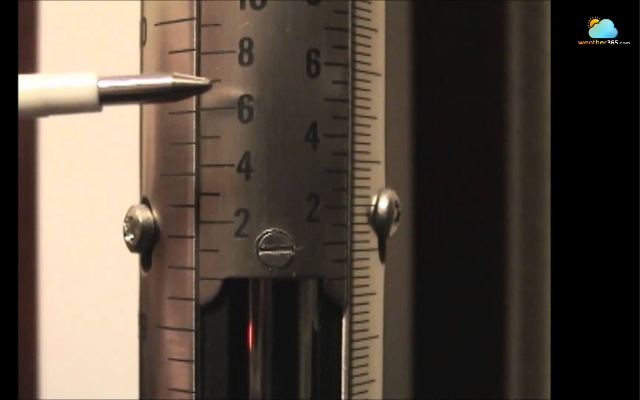
Carefully slide the vernier scale
Read the Scale
Now you can read the scale. Look at the main measurement (usually in inches of mercury or millimeters), then refine it using the Vernier scale.
For example, you might see a reading like 29.85 inHg, which gives you a more exact idea of current pressure than a rough estimate.
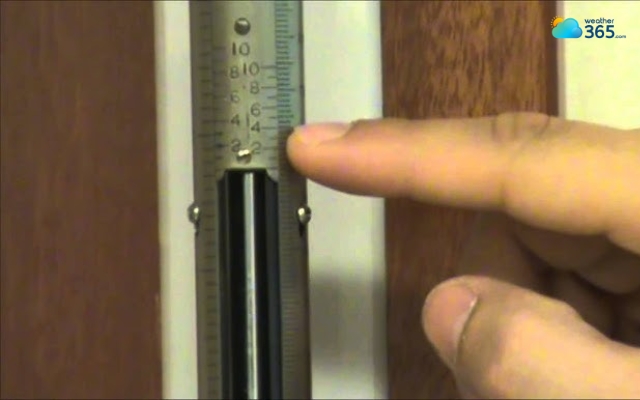
Refine the scale using the Vernier scale
Check the temperature
Temperature also plays a subtle role.
Mercury expands and contracts with heat, so in highly accurate readings, you may need to check the temperature and apply a small correction.
For everyday use, this step isn’t always necessary, but it’s important in scientific or professional settings.
Interpret Trends
Finally, and this is the most valuable part: Learn how to interpret pressure trends, because this is what actually helps you predict the weather.
Start with the general ranges.

Interpret the trends to predict the weather patterns
At sea level, a reading around 29.92 inHg (1013 hPa) is considered normal.
When the mercury rises above 30.2 inHg, it usually indicates high pressure, which is linked to clear skies, calm winds, and stable weather.
On the other hand, when it drops below 29.6 inHg, you’re likely dealing with low pressure, often bringing clouds, rain, or even storms.
Isn’t it clear enough? If you’re still confused about the difference between high and low pressure systems, we have a full explanation right here!
High and low pressure predict the weather
But don’t just focus on whether the number is high or low; pay attention to how it’s changing.
If the mercury is rising slowly, it typically means the weather is improving gradually.
You might see clouds clearing up and more sunshine appearing. A rapid rise can signal a quick shift toward dry but possibly windy conditions.
If the mercury is falling slowly, expect increasing cloud cover and a higher chance of rain in the near future.
However, a sharp or sudden drop is more serious, it often indicates an approaching storm system, especially if accompanied by strong winds or humidity.
Here’s a simple way to read it in real life:
-
A steady rise from 29.8 → 30.3 inHg → clearer, more stable weather ahead
-
A gradual drop from 30.1 → 29.7 inHg → clouds building, rain likely
-
A fast drop below 29.5 inHg → possible storm or heavy weather incoming
Over time, you’ll notice that the barometer often “predicts” weather changes hours before you can see them in the sky.
That’s why tracking these trends regularly is far more useful than checking a single reading once in a while.
How To Read A Aneroid Barometer
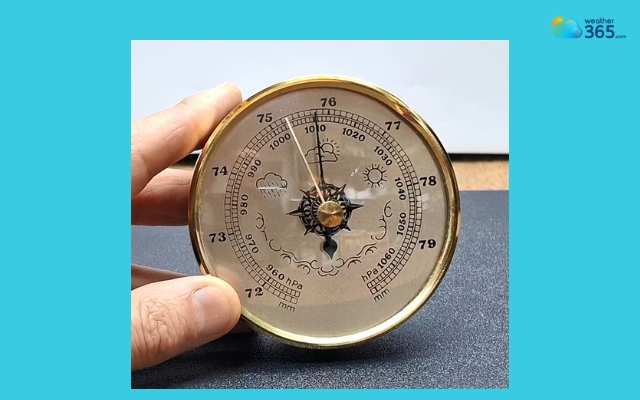
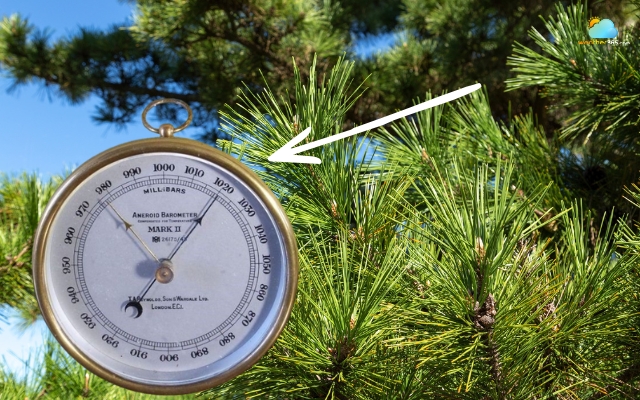
An aneroid barometer is the most common type you’ll see at home.
Instead of liquid mercury, it uses a small sealed metal chamber that reacts to changes in air pressure, moving a needle on the dial.
Tap the glass
Start by giving the glass a light tap.
This might sound odd, but it helps the internal mechanism settle and gives you a more accurate reading, especially if the needle has been slightly stuck.
Tap the glass of an aneroid barometer to see if it works
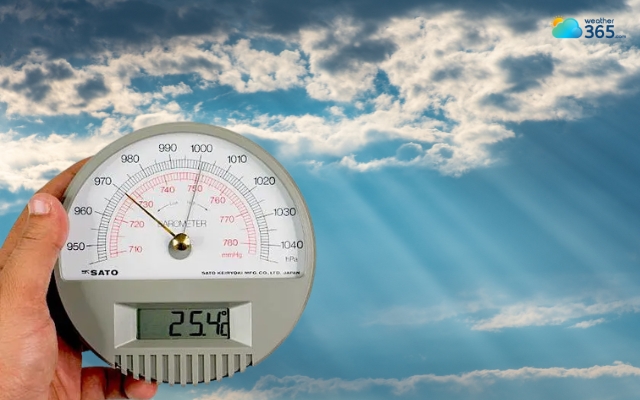
Read the current pressure
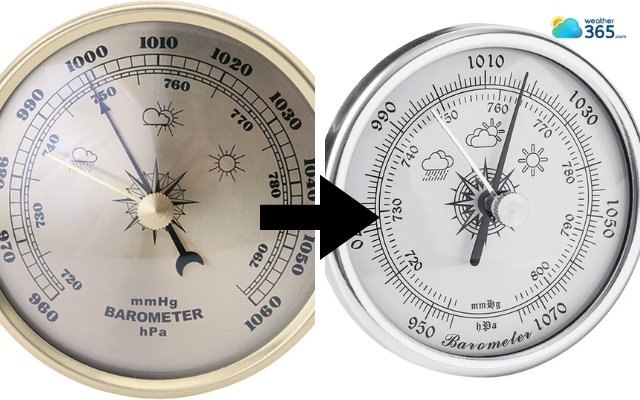
Next, read the current pressure on the dial. Most aneroid barometers have two scales:
-
The outer scale shows inches of mercury (inHg)
-
The inner scale shows millibars or hectopascals (hPa)
You only need to follow one scale consistently. For example, if the needle points to 29.8 inHg, that’s your current pressure.
Read the current pressure on the dial
Set the reference needle
Now comes a key step many beginners skip: set the reference needle (if your barometer has one).
This is the movable marker you can place manually on top of the current reading.
It doesn’t measure anything by itself, but it helps you track changes over time.
Compare later
After a few hours, or the next day, check again and compare the new reading with the reference marker.
This is where the barometer becomes useful.
-
If the needle moves clockwise (rising pressure), the weather is likely improving
-
If it moves counter-clockwise (falling pressure), conditions may be getting worse
To interpret the numbers more clearly:
-
Around 30 inHg or higher (≈1015–1020 hPa) → high pressure, usually clear and stable weather
-
Below 29.5 inHg (≈1000 hPa) → low pressure, often linked to clouds, rain, or storms
For example, if you set the marker at 30.0 inHg and later see the needle drop to 29.4, that’s a noticeable fall, meaning a weather change is likely on the way, even if the sky still looks fine.
The more often you compare readings like this, the easier it becomes to spot patterns.
With an aneroid barometer, it’s not about precision tools; it’s about watching the needle move and understanding what that movement means.
Check the barometer again and compare the new reading
How To Read Digital Barometers
To read digital barometers properly, you first need to focus on a few key elements, and then know how to interpret the pressure changes.
Key components of reading
When you open a weather app or check a digital barometer, you’ll usually see more than just a number.
-
The unit of measurement
Most devices display pressure in hPa (hectopascals), though some also show inHg.
As long as you stick to one unit, it’s easy to track changes over time.
-
The trend indicator
A trend indicator often shown as a small arrow or graph. This is one of the most useful features.
Instead of guessing, you can quickly see whether pressure is going up, down, or staying stable over the past few hours.
-
Altitude impact
Many smartphones and smartwatches automatically adjust pressure readings based on your elevation.
That’s why the number might look lower if you’re in a high-rise building or mountainous area.

Factors to consider before reading a barometer
Interpreting the pressure
Once you understand the display, the next step is making sense of the numbers.
-
High pressure (above ~1015 hPa / 30 inHg) usually means clear skies, light winds, and stable weather
-
Normal pressure (around 1013 hPa / 29.92 inHg) suggests average, changeable conditions
-
Low pressure (below ~1000 hPa / 29.5 inHg) is often linked to clouds, rain, or storms
But just like with other barometers, the rate of change matters even more than the number itself.
Rapidly falling pressure is a strong warning sign. It often means a storm or heavy rain is approaching, sometimes within hours
Rapidly rising pressure usually signals that bad weather is clearing, though it can also bring gusty winds
For example, if your app shows a drop from 1012 → 1002 hPa within a few hours, that’s a clear sign of unstable weather ahead, even if it hasn’t started raining yet.
Learn how to interpret the pressure
Is a Barometer accurate?
The short answer is: Yes, barometers are generally accurate, especially when properly calibrated.
Mercury barometers are the most precise, while digital ones are also highly reliable thanks to modern sensors.
Aneroid barometers may be slightly less exact but still useful.
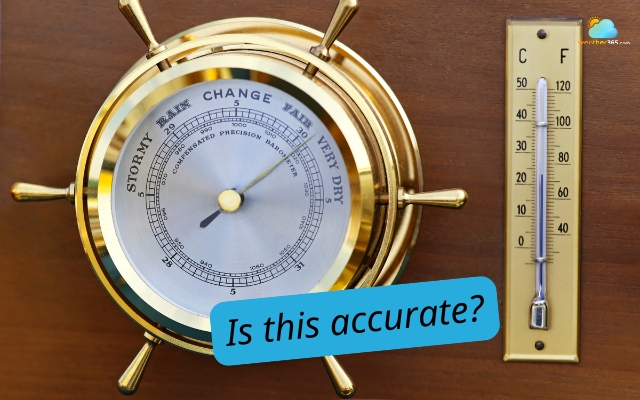
A barometer is correct if properly calibrated
In practice, consistency matters more than perfect accuracy.
Even if the number isn’t exact, you can still trust the trend (rising or falling pressure) to predict weather changes.
Factors like altitude, calibration, and environment can affect readings slightly, but for everyday use, a barometer is more than reliable enough to track and anticipate local weather.
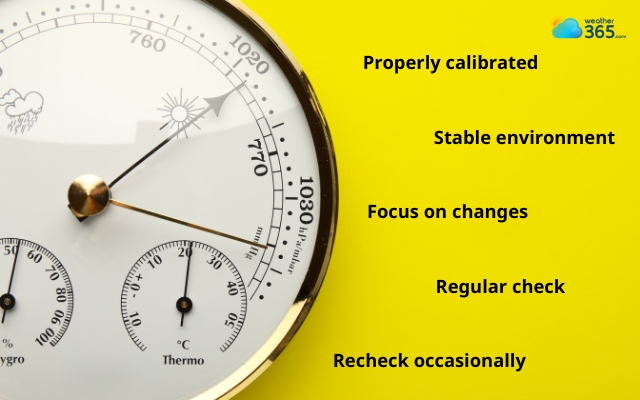
Tips for reading a barometer
Want a 100% accurate reading? Follow the following tips!
-
Properly calibrated
First, make sure your barometer is properly calibrated.
This means setting it to match a reliable local pressure source (like a weather station).
Without this step, the numbers you see can be misleading from the start.
-
Keep the barometer in a stable environment
Next, always keep it in a stable environment.
Avoid placing it near windows, direct sunlight, or heat sources, because temperature and airflow can affect readings slightly over time.
-
Focus on changes
Another important tip is to focus on changes, not just one reading.
A single number doesn’t tell you much, but a steady rise or fall over several hours can clearly signal improving or worsening weather.
-
Check the barometer regularly
It also helps to check your barometer regularly, ideally at the same time each day.
This builds a habit and makes it easier to recognize patterns in pressure changes.
-
Recheck occasionally
Don’t forget to recheck or recalibrate occasionally, especially if you move the device or notice readings that seem off.
Over time, small shifts can happen, and a quick adjustment keeps your barometer reliable.
How to get the most accurate reading of a barometer?
Conclusion
Learning how to read a barometer gives you a small but powerful edge in everyday life. Instead of relying only on apps, you start noticing patterns in the air around you, spotting weather changes early and planning with more confidence.
Frequently Asked Questions (FAQs)
◉ High pressure → calm, clear weather
◉ Low pressure → storms and rain
However, low pressure can feel worse for some people, especially those sensitive to weather changes (like headaches before rain).
Related post

What Is Barometric Pressure? Simple Explanation for Beginners

How Does Weather Affect Air Pressure? A Comprehensive Guide

0 Comment
Leave a comment
Your email address will not be published. Required fields are marked *